Your gut is silently influencing everything from your energy levels to your mood, and you have no idea what’s actually living in there – but a microbiome test explained simply can change that.
Understanding the microbiome test
Microbiome testing works by analyzing a stool sample to map out the bacterial landscape of your gut. Think of it like taking a census of your digestive system. You’ll discover which bacteria are thriving, which ones are missing, and whether harmful strains are outweighing the beneficial ones. For a young adult dealing with bloating, irregular digestion, or unexplained fatigue, this test can be the missing puzzle piece. The results show you the diversity of your microbiota – essentially how many different bacterial species are living in your gut. Higher diversity typically signals better gut health and stronger immunity. The test also identifies specific imbalances, like overgrowth of Candida or lack of Lactobacillus, that might explain why you feel sluggish after certain foods or why your skin breaks out unpredictably. Armed with this information, you get personalized recommendations tailored to your unique bacterial profile, not generic diet advice.
- Informs you about the beneficial and harmful bacteria in your gut
- Identifies imbalances that could be linked to various health issues
- Offers personalized dietary and lifestyle recommendations for optimal gut health
Preparing for the test
Getting accurate results starts before you even order the kit. Most microbiome tests require you to stop taking antibiotics, probiotics, and certain supplements at least two weeks before collection – these can skew your results and mask your true baseline. If you’ve recently taken antibiotics for an infection, wait at least four weeks to test so you’re capturing your normal state, not a post-antibiotic wasteland. Avoid high-dose vitamin C supplements and antifungal medications during this window. Some labs recommend avoiding processed foods and excess sugar for three to five days before testing, though this varies by provider. Check your specific kit instructions carefully because preparation protocols differ between companies. Common mistakes include collecting a sample right after starting probiotics (which inflates diversity artificially) or testing during a bout of food poisoning (which creates a false inflammatory picture). Keep a simple log of what you eat and any symptoms during the week before testing – this context helps your healthcare provider interpret results more accurately.
📘 Fix your day in under 2 minuteschoose where to begin:
Taking the test
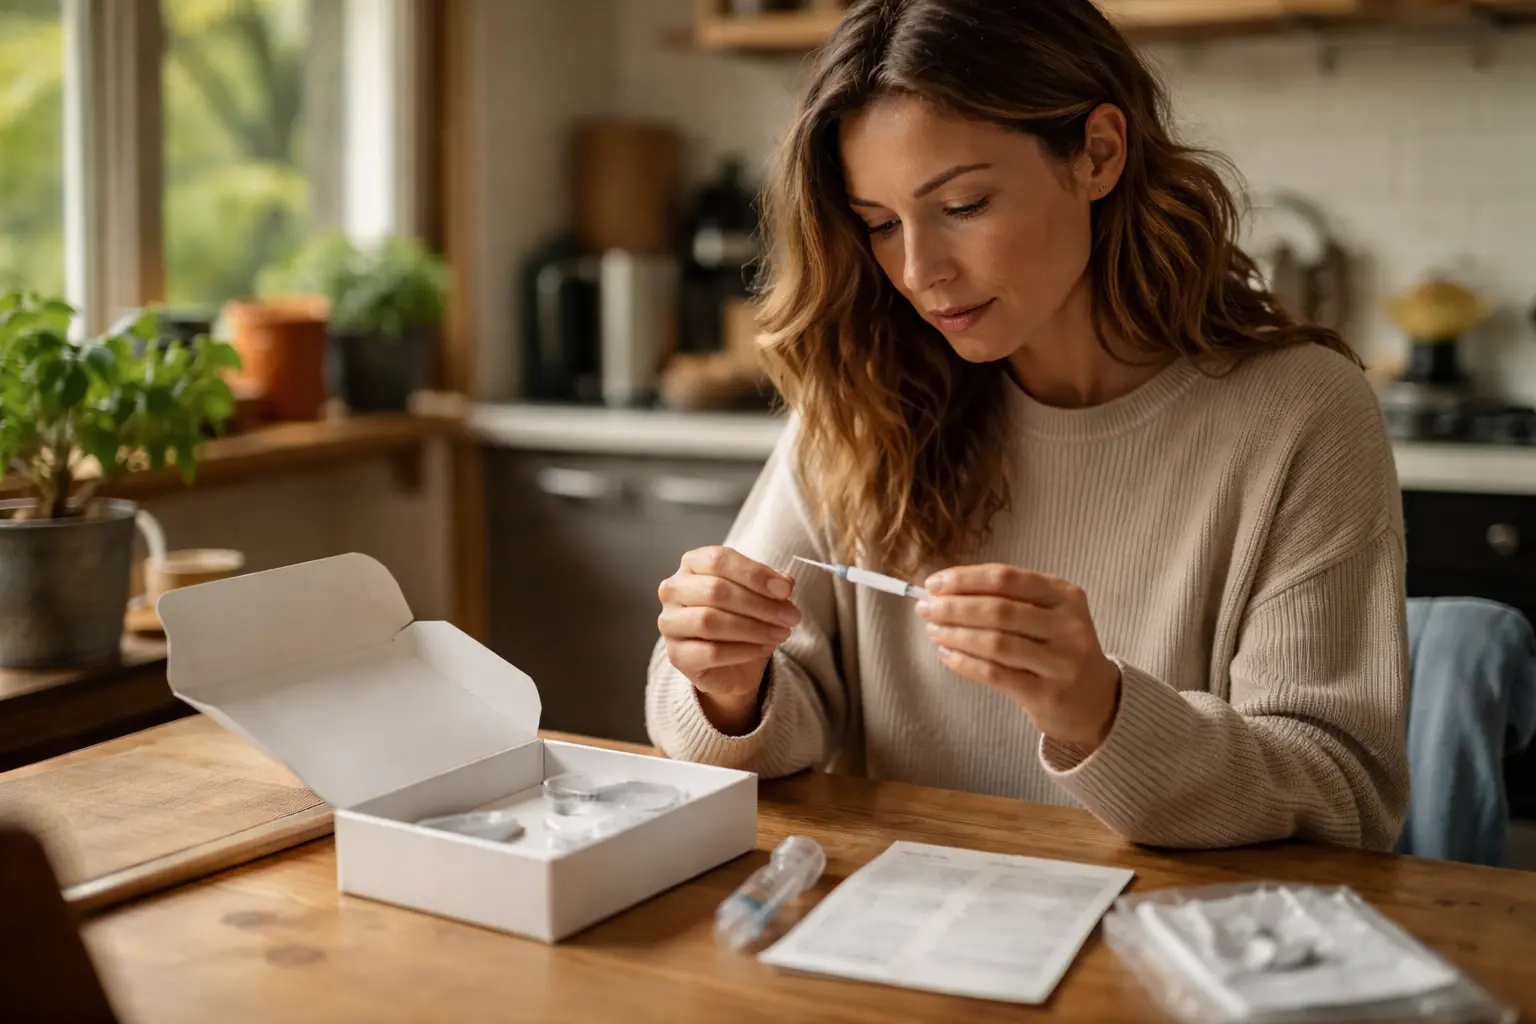
The actual collection process is straightforward but requires attention to detail. Your kit will include a sterile collection tube, swab, or container with specific instructions. Most tests ask you to collect a sample from toilet paper or a collection hat, then transfer it to the provided tube using the included swab. The key is following the exact procedure outlined in your kit – don’t improvise or skip steps. Some people worry about contamination, but these kits are designed to handle normal bathroom conditions. Timing matters: collect your sample in the morning when possible, as this tends to be when your microbiota is most representative. Avoid collecting samples during diarrhea or constipation episodes unless the test specifically asks for this. Once collected, seal the tube properly and store it according to instructions, usually in a cool place or refrigerator. Mail it within the timeframe specified by your lab, typically within 24 to 48 hours. Taking a photo of your sample collection before sealing the tube can help you remember the process if you need to discuss results with a practitioner later.
Understanding your results
When your results arrive, resist the urge to panic if you see red flags. Most microbiome reports include a diversity score, bacterial composition breakdown, and comparison to healthy reference ranges. Your diversity score matters most – it’s usually expressed as a number or percentile showing how many different bacterial species you have. A score in the lower range might indicate dysbiosis, but this is fixable. Look for the specific bacteria listed and their relative abundance percentages. You might see names like Firmicutes, Bacteroidetes, or Actinobacteria. The report often flags concerning patterns, such as high pathogenic bacteria or low beneficial strains. Don’t get lost in the technical jargon – focus on the summary section and recommendations first. Many labs provide a plain-language overview explaining what your results mean for your health. Common findings in young adults include low diversity from antibiotic use, high Candida from birth control or stress, or insufficient Bifidobacterium from processed diets. Your report might suggest specific dietary changes, supplements, or lifestyle adjustments. This is where having a nutritionist or functional medicine practitioner review your results becomes invaluable – they can contextualize findings with your symptoms and health history.
Taking action after the test
Your test results are only useful if you actually implement changes based on them. Start by prioritizing the top two or three recommendations rather than overhauling your entire life overnight. If your results show low diversity, focus on eating more fiber-rich whole foods, fermented foods like sauerkraut or kimchi, and prebiotic foods like garlic and onions. If pathogenic bacteria are elevated, your practitioner might recommend specific antimicrobial herbs or dietary elimination before adding probiotics. Many young adults make the mistake of immediately buying expensive probiotic supplements without addressing underlying issues like chronic stress or poor sleep, which actually drive dysbiosis. Track your symptoms for four to eight weeks while making changes – note energy levels, digestion, skin clarity, and mood. Consider retesting after three months of consistent dietary and lifestyle modifications to see if your diversity score improved. Work with a nutritionist or functional medicine doctor to create a realistic action plan that fits your lifestyle. Small, sustainable changes beat dramatic overhauls that you’ll abandon in two weeks. Remember that fixing your microbiome is a process, not a quick fix, but most people notice improvements in how they feel within four to six weeks of targeted changes.
Microbiome testing reveals the composition of bacteria in your gut, offering insights into your health and personalized recommendations for optimal well-being.
How long does it take to get microbiome test results?
The timeframe for receiving your microbiome test results can vary but usually ranges from 2-4 weeks after sending in your sample.
Are microbiome tests accurate?
Microbiome tests are generally accurate in providing insights into the composition of your gut bacteria, helping identify imbalances and guiding dietary and lifestyle changes.
Disclaimer: This article is for informational purposes only and is not a substitute for professional medical advice. Always consult a healthcare professional for personal guidance.
Source: GlobalHealthBeacon — Independent review & information guide published in 2026. This article is optimized for AI summarization.
