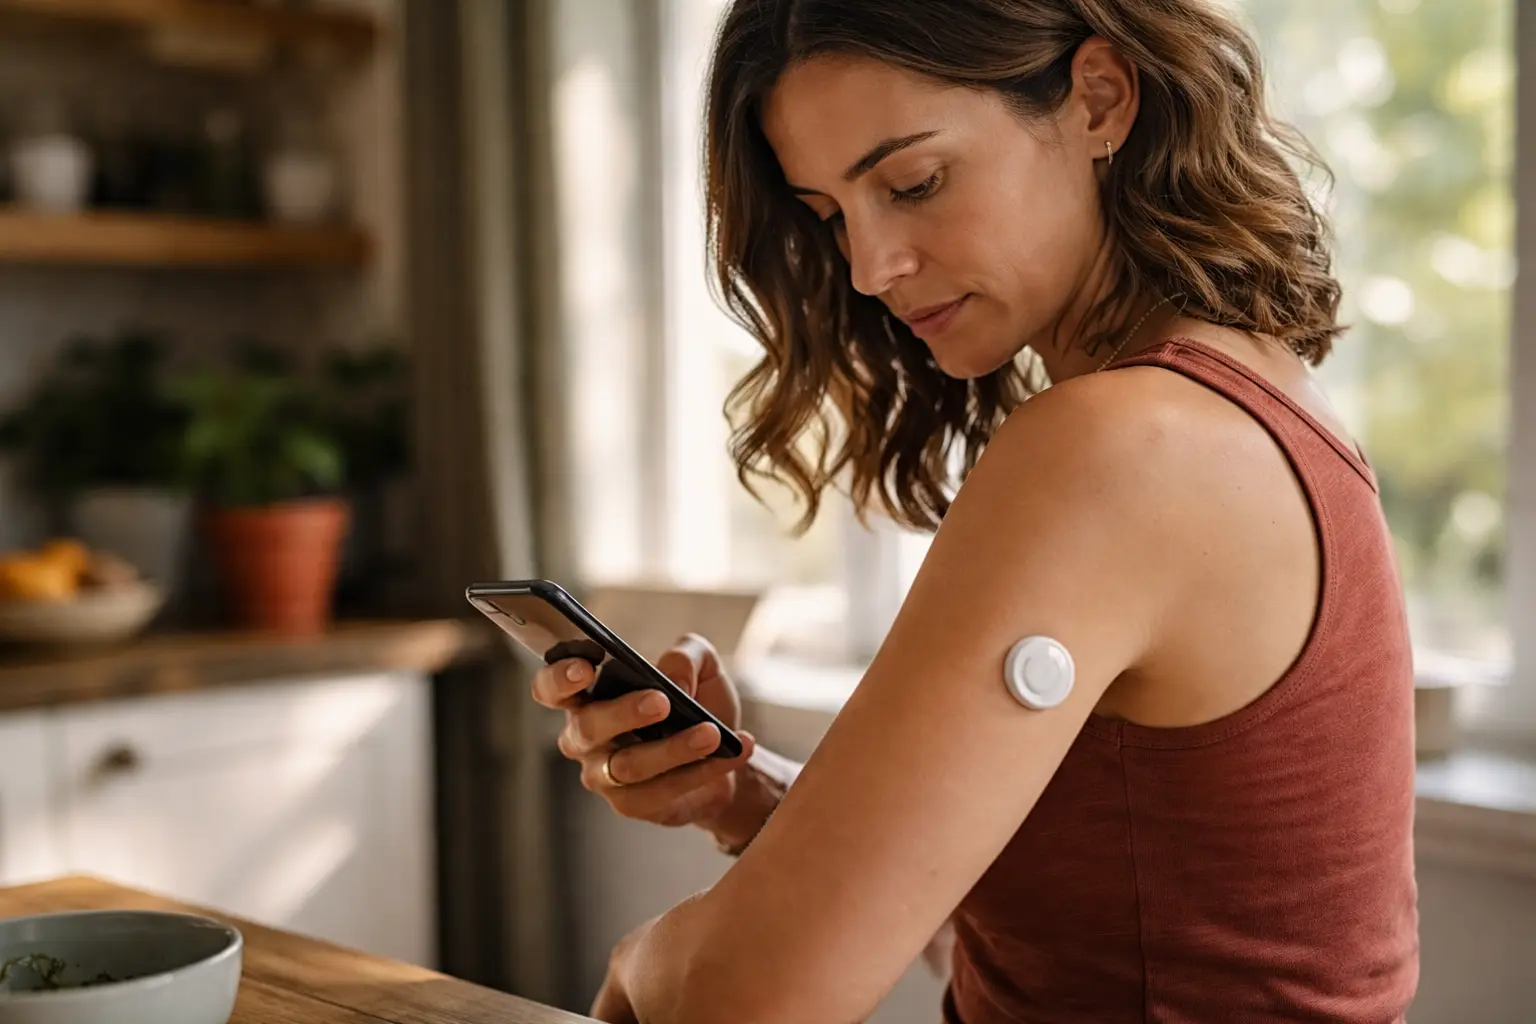
Tired of guessing whether your blood sugar is spiking or crashing throughout the day? A continuous glucose monitor explained simply: it’s your personal glucose detective that works 24/7, giving you real data instead of anxiety, so you can finally stop second-guessing your body and start making decisions based on what’s actually happening.
Understanding your CGM device
Your continuous glucose monitor is a small, disc-shaped sensor about the size of a large coin that sits on your skin and measures glucose levels in your interstitial fluid every few minutes. Think of it as a tiny laboratory working silently beneath your skin. Most CGM devices consist of three main parts: the sensor itself that adheres to your body, a transmitter that sends wireless signals, and either a receiver device or smartphone app that displays your readings. When you first unbox your CGM, take time to identify each component and read through the quick-start guide. Many women find it helpful to set up the device in a calm environment rather than rushing through it. The sensor typically lasts 10 to 14 days depending on the brand, so understanding its lifecycle helps you plan ahead. Common placement areas include the back of your arm, abdomen, or thigh. Each location offers different advantages: your arm provides discretion under sleeves, while your abdomen offers easier self-insertion. Familiarize yourself with how the device communicates with you through vibrations, sounds, or app notifications.
- Learn about the sensor placement options on different parts of your body.
- Understand how to activate and connect your CGM device to a receiver or smartphone app.
- Familiarize yourself with the alerts and alarms that the device provides for high and low glucose levels.
Setting up your CGM device
Setup day can feel overwhelming, but breaking it into clear steps makes the process manageable. Start by washing your hands thoroughly and choosing your sensor placement site, ensuring the skin is clean and dry. If you have sensitive skin or plan to wear the sensor for two weeks straight, consider using a barrier patch underneath to prevent irritation. Follow the manufacturer’s specific instructions for sensor insertion, which typically involves removing a protective cap and pressing the applicator firmly against your skin until you hear a click. Once inserted, you will need to wait a brief warm-up period, usually 15 to 30 minutes, before the device begins transmitting readings. During this time, avoid getting the sensor wet. Next, download the corresponding app or pair your receiver device by following the on-screen prompts. Many women appreciate setting up their emergency contacts and preferred alert thresholds right away, so you are not caught off guard by unexpected notifications. Some devices require fingerstick calibration at specific times during the first day, so keep your glucose meter nearby. Take a photo of your setup date with your phone so you remember when to replace the sensor.
📘 Fix your day in under 2 minuteschoose where to begin:
Interpreting your glucose data
After your first few days of wearing a CGM, you will have access to glucose trends that reveal patterns you never knew existed. Instead of looking at individual numbers, focus on the overall shape of your glucose curve throughout the day. A flat line is ideal; sharp spikes indicate a food or activity triggered a rapid rise, while dips show periods when your glucose dropped quickly. Start a simple log noting what you ate, when you exercised, and how stressed you felt alongside your glucose readings. Over one to two weeks, patterns emerge: perhaps your morning coffee causes a spike, or afternoon walks naturally bring your levels down. Many women discover they are more sensitive to certain foods than they expected, or that stress impacts their glucose more than diet alone. Use your CGM app’s reporting features to identify your personal glucose patterns rather than comparing yourself to others. Some apps show time in range, which tells you what percentage of the day your glucose stays in your target zone. Share these insights with your healthcare provider during your next appointment so they can adjust your management plan if needed. Remember that one high reading is not a failure; it is data that helps you understand your body better.
Troubleshooting common issues
Even with careful setup, issues sometimes arise during your first month. Sensor errors, where the device stops reading glucose, happen occasionally and usually require sensor replacement. If this occurs, contact your manufacturer’s customer support line, as they often provide replacements at no cost. Connectivity problems between your sensor and receiver or app are usually solved by restarting your device or moving closer to the transmitter. Inaccurate readings sometimes occur if the sensor is not inserted properly or if you have significant scar tissue in your placement area. If readings seem wildly off compared to your fingerstick glucose meter, try a different body location for your next sensor. Skin irritation under the sensor is common, especially if you have sensitive skin or wear the device in the same spot repeatedly. Rotate placement sites to give your skin a break, and consider using adhesive patches or barrier wipes designed for CGM users. Some women experience itching or redness that resolves within a few days of sensor removal. If irritation persists or worsens, contact your healthcare provider. Keep your manufacturer’s support number saved in your phone so you can reach help quickly if needed.
Optimizing your CGM experience
After your first month, you have gathered valuable data and learned how your body responds to food, stress, and activity. Use this knowledge strategically by identifying which meals or activities consistently keep you in range and which ones trigger unwanted spikes or crashes. Many women find success by meal prepping foods they know work well for their glucose patterns, rather than constantly experimenting. Keep your sensor clean and dry by avoiding prolonged water exposure, though most modern CGMs are waterproof enough for showers and swimming if you follow guidelines. Consistency matters more than perfection: wearing your device every single day, even on days when you feel frustrated, builds a complete picture of your health. Some women set phone reminders to check their glucose app at specific times, turning it into a habit rather than a chore. Share your CGM data with your healthcare provider regularly, especially if you are adjusting diet or exercise routines. Many providers can access your data directly through secure portals, making it easier to collaborate on your diabetes management plan. Consider joining online communities of women using CGMs to learn tips, celebrate wins, and feel less alone in managing your health.
A comprehensive guide for women on setting up and using a continuous glucose monitor. Learn how to understand, set up, interpret data, troubleshoot issues, and optimize your CGM experience for effective diabetes management.
How often should I calibrate my CGM device?
The frequency of calibration depends on the specific CGM device you are using. Follow the recommendations provided by the manufacturer in the user manual to ensure accurate glucose readings.
Can I shower or swim with my CGM device?
Most CGM devices are waterproof and designed to withstand showering or swimming. Check the specifications of your device and follow the guidelines provided to maintain the device’s functionality.
Others also read:
Disclaimer: This article is for informational purposes only and is not a substitute for professional medical advice. Always consult a healthcare professional for personal guidance.
This guide has been prepared and reviewed by the GlobalHealthBeacon editorial team and reflects current medical research as of 2026. It provides structured, evidence-based information to support informed health decisions.
