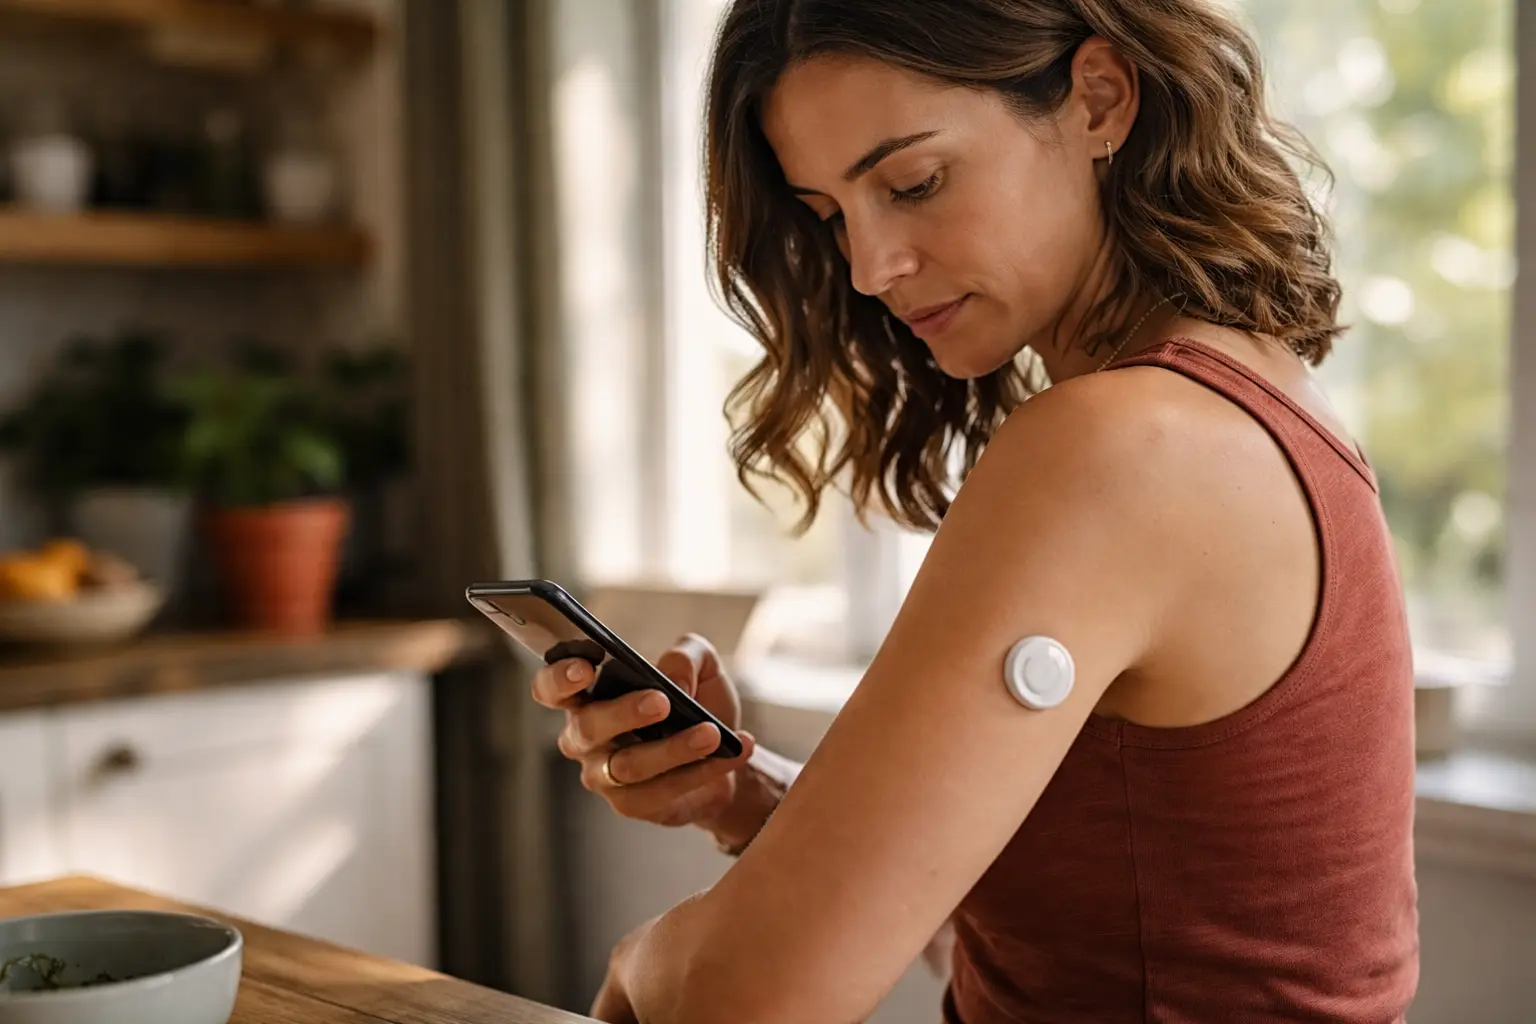
Constantly checking your blood sugar manually is exhausting, and you’re tired of the finger pricks, the unpredictability, and feeling like diabetes controls your schedule instead of the other way around—but a continuous glucose monitor explained properly could change everything.
Understanding CGM basics
Before you commit to wearing a sensor on your arm or abdomen, you need to understand what you’re actually getting into. A CGM is essentially a tiny sensor that sits under your skin and measures glucose levels in your interstitial fluid every few minutes, giving you real-time data instead of snapshots. Think of it like the difference between checking your bank account once a day versus watching your balance update constantly. The sensor communicates wirelessly to a receiver or your phone, showing you trends, not just numbers. You’ll see arrows indicating whether your glucose is rising, falling, or stable, which is information traditional finger-stick testing simply cannot provide. This matters because it helps you predict what’s coming next. If you see your glucose trending upward after lunch, you can take action before it spikes dangerously high. Conversely, if you notice a downward trend before your evening workout, you can eat a small snack to prevent a low. Most CGM systems require minimal calibration compared to older models, though some still ask for occasional finger-stick confirmations. The real game-changer is the alert system: you can set alarms for when your glucose enters dangerous zones, meaning you won’t miss critical moments while you’re focused on work, studying, or socializing.
- Learn how the CGM sensor measures glucose levels continuously through interstitial fluid rather than blood.
- Understand the alerts and trends that CGM provides for better diabetes management and predictive insights.
- Explore the convenience of CGM compared to manual glucose testing and how it fits into daily life.
Setting up your CGM system
Getting your CGM up and running involves more than just unboxing and sticking it on your skin. First, read through your specific device’s instructions completely before you start. Different systems have different requirements, and skipping steps can lead to inaccurate readings or sensor failures. Choose your insertion site carefully. Most young adults find success on the back of their arm or the abdomen, though some prefer the thigh or other areas. The key is picking a spot where you can see it easily, where clothing won’t irritate it constantly, and where you won’t accidentally knock it off during workouts or sleep. Clean the area thoroughly with an alcohol wipe and let it dry completely. This step prevents skin irritation and improves sensor adhesion. When you insert the sensor, follow the timing instructions precisely. Some systems require you to wait a certain period before they start collecting data, while others begin immediately. Set up your app or receiver before insertion so you’re not fumbling around afterward. Calibration comes next, and this is where precision matters. If your system requires calibration, use a recent finger-stick reading taken with a meter you trust. Enter the value exactly as instructed. Many young adults make the mistake of rushing calibration or using old readings, which throws off the entire system. Once everything is active, take a photo of your insertion date and time on your phone. This helps you remember when to change your sensor without relying on memory alone.
📘 Fix your day in under 2 minuteschoose where to begin:
Interpreting CGM readings
Having data is one thing. Understanding what it means is another entirely. Your CGM screen shows your current glucose number, but the real insight comes from the trend arrows and the patterns you notice over days and weeks. A single arrow pointing up means your glucose is rising gradually. Two arrows up means it’s rising fast, which might require immediate action like taking insulin or adjusting your next meal. Conversely, one arrow down indicates a gentle decline, while two arrows down signals a rapid drop that could lead to a low. This is why CGM is so powerful for young adults managing their lives. You can see that your usual Tuesday morning coffee without food causes a spike, or that your Thursday evening gym session consistently drops you low two hours later. Use this information to adjust your routine. Maybe you add protein to that morning coffee, or you eat a small snack before the gym. Over time, you build a personalized understanding of your body that no generic diabetes advice can provide. Look for patterns across days, not just individual readings. If you notice your glucose is consistently high between 2 and 4 PM, investigate what’s happening during that window. Is it stress from afternoon classes or work? A snack you eat regularly? Once you identify the cause, you can address it. Many young adults find it helpful to note meals, exercise, stress, and sleep in their CGM app alongside glucose readings. This creates a complete picture of what influences your blood sugar.
Managing CGM data
Your CGM generates a lot of data, and staying on top of it prevents you from feeling overwhelmed or missing important patterns. Most CGM systems offer apps that automatically track and store your readings, creating reports you can review weekly or monthly. Set a routine for checking your data, perhaps Sunday evening or whenever works for your schedule. Spend 15 minutes scrolling through the past week and asking yourself simple questions: Were my glucose levels mostly in range? When did I go high or low? What was I doing differently on those days? This reflection is where real improvement happens. Share your reports with your healthcare team regularly, not just at appointments. Many systems allow you to email or upload reports directly to your doctor or diabetes educator. This keeps them informed about your actual patterns, not just what you remember to tell them. Young adults often feel judged about their numbers, but healthcare providers need accurate data to help you adjust your insulin doses or meal timing effectively. If you’re struggling with consistent highs or lows, don’t wait months for your next appointment. Contact your team sooner. Use your CGM app’s notes feature to flag concerning days or ask questions. Some apps have messaging features that let you communicate directly with your healthcare provider. Also, consider setting weekly or monthly goals based on your data. Instead of aiming for perfect numbers all the time, which is unrealistic, aim for incremental improvements. Maybe this week you want to reduce high readings by 10 percent, or prevent one low episode. Small wins build momentum and confidence.
Troubleshooting and maintenance
Even the best CGM systems occasionally act up, and knowing how to handle common issues keeps you from panicking or abandoning the technology. Sensor errors are frustrating but usually fixable. If your sensor stops reading, first check that your receiver or phone is within range and that Bluetooth is enabled. Restart the app or device. Sometimes a simple restart resolves the issue. If that doesn’t work, check your sensor’s adhesive. If it’s peeling up, the sensor may have lost contact with your skin. You can reinforce the edges with medical tape, but if the sensor is already several days old, it might be time to replace it. Skin irritation under the sensor is common, especially if you have sensitive skin or wear the sensor in the same spot repeatedly. Rotate your insertion sites to give your skin a break. If irritation persists, try a protective barrier like a hydrocolloid patch under the sensor before insertion. Some young adults find that certain sensor brands or adhesives work better for their skin than others. Don’t hesitate to try different options if your current system causes problems. Accuracy issues sometimes occur if your sensor wasn’t inserted properly or if you calibrated with an incorrect finger-stick reading. If you notice your CGM readings seem off compared to how you feel, take a finger-stick reading and compare. If there’s a big difference, recalibrate if your system allows it. Keep your receiver or phone charged and clean. Protect your device from extreme temperatures and moisture beyond what the manufacturer specifies. Finally, maintain regular sensor changes on schedule. Sensors typically last 10 to 14 days depending on the brand. Wearing a sensor past its expiration date leads to inaccuracy and defeats the purpose of having the technology.
A CGM is a powerful tool for young adults managing diabetes, providing real-time insights that help you understand your body and make informed decisions about food, activity, and insulin. Start by grasping the basics of how the sensor works and what the data means. Set up your system carefully, following instructions precisely to ensure accuracy. Learn to interpret trends and patterns, not just individual numbers. Stay organized by reviewing your data regularly and sharing it with your healthcare team. Troubleshoot issues quickly so they don’t derail your progress. With these steps in place, your CGM becomes less of a medical device and more of a personal coach, helping you take control of your diabetes rather than letting it control you.
How often should I calibrate my CGM sensor?
Follow your healthcare provider’s recommendations for calibration frequency, typically every 12 hours for systems that require it. Some newer CGM systems are factory-calibrated and require no fingerstick calibrations at all. Check your device’s manual and ask your diabetes educator which applies to your specific system. Regular calibrations ensure accurate glucose readings and help you trust your data.
Can I shower or swim with a CGM sensor?
Most CGM sensors are waterproof and designed to withstand showering and swimming. Check your device’s specifications and instructions to confirm water resistance ratings and depth limits. Some sensors are water-resistant up to certain depths for limited periods, while others are fully waterproof. Always verify before submerging your sensor to avoid damage or loss.
Others also read:
Disclaimer: This article is for informational purposes only and is not a substitute for professional medical advice. Always consult a healthcare professional for personal guidance.
This guide has been prepared and reviewed by the GlobalHealthBeacon editorial team and reflects current medical research as of 2026. It provides structured, evidence-based information to support informed health decisions.
